The 9am Problem
You leave the house with a blow-dry that took twenty minutes and looked genuinely good in the hallway mirror. By the time you're off the subway or out of the car at work, the ends have doubled in width and the crown has lifted into something that looks less like volume and more like static. This isn't bad luck, and it isn't a bad haircut. It's chemistry: hair is hygroscopic, meaning it absorbs moisture from the air, and when humidity climbs past roughly 65%, the hydrogen bonds that were holding your style in place start swapping places with water molecules faster than any product can stop them. Curly and wavy hair feels it first because the cuticle sits slightly more open than on straight hair, but nobody with a working blow-dryer is actually immune once the dew point climbs into the 60s. Even fine, straight hair that's never frizzed a day in April will pick up an unwanted bend by the temples once August humidity settles in, and that's usually the first sign a routine needs to change before the rest of summer arrives.
The good news is that humidity-proofing isn't about fighting harder — it's about sealing the hair shaft before moisture gets a chance to sneak in, which is a completely different strategy from the "more product, more hold" approach most people default to in July. Once you understand that the goal is a barrier, not a stiffener, the whole routine gets simpler and a lot less sticky.
Wash Day Sets the Terms
What you do at the sink on wash day determines how the rest of the week goes, and this is where most humidity routines quietly fail before a single styling tool comes out. Sulfate shampoos strip the cuticle and leave it rough and porous, which is exactly the texture that grabs airborne moisture like a sponge. Swap to a sulfate-free formula — Olaplex No. 4 Bond Maintenance Shampoo runs about $30 and does a genuinely better job of smoothing the cuticle layer than most drugstore anti-frizz lines twice its price. Follow with a rinse-out conditioner that's weighted toward fatty alcohols rather than silicones for the everyday wash; save the heavier silicone-based mask, like Redken's Frizz Dismiss Rebel Tame, for once a week when hair needs deeper sealing. Water temperature matters less than most wash-day advice suggests, but water hardness does — mineral buildup from hard tap water roughens the cuticle in exactly the way sulfates do, so anyone in a hard-water region should budget for a monthly chelating shampoo whether or not the label mentions humidity at all. Skip a step here and every product applied afterward is working against a rougher, thirstier cuticle than it was designed for.
Skip the cold-water-rinse advice you'll see everywhere online. It closes the cuticle a little, sure, but the effect is marginal and lasts about as long as it takes to towel off — the real cuticle-sealing work happens with a leave-in product, not water temperature.
The Leave-In That Actually Matters
Apply a leave-in with a genuine oil or silicone seal — not a water-based detangler — to towel-dried hair while it's still damp, before any heat tool touches it. Living Proof No Frizz Leave-In Conditioner ($29) and Moroccanoil Frizz Control ($34) both build a lightweight film that blocks water vapor from re-entering the shaft; the difference between using one of these and skipping straight to a heat tool is the difference between a style that holds until dinner and one that's gone by lunch.
- Comb the leave-in through in sections, root to tip, rather than scrunching it in all at once
- On fine hair, apply from the ears down only — leave-in near the roots on fine textures tends to flatten volume within an hour
- Curly and coily textures generally need more product than straight hair expects, so don't ration it the way you would on straight strands
- A dime-sized amount is plenty for shoulder-length hair; longer or thicker lengths need closer to a quarter-sized dollop, and there's no shame in using more than the bottle suggests
Styling Techniques That Hold
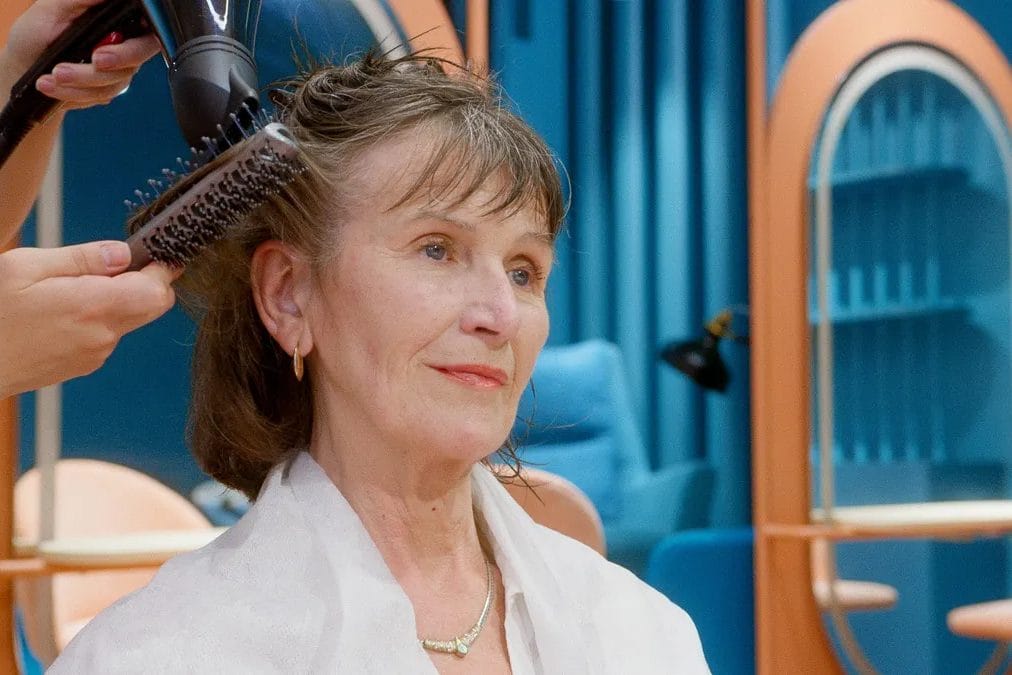
Blow-drying with a nozzle attachment pointed downward — following the direction of the cuticle — closes the hair shaft as it dries, and this single adjustment does more for humidity resistance than any product swap. Skip the nozzle and you're blasting air at the cuticle from every angle, which roughs it up and makes it more porous exactly when you need it sealed. A round brush helps on wavy or straight hair for smoothness, but if you have natural curl, diffusing on low heat with hair cupped in your palms preserves the curl pattern far better than brushing it out, which just creates frizz without adding any actual style.
Once hair is fully dry — not just dry to the touch, but dry all the way through, since residual internal moisture is one of the most common reasons a blow-dry collapses within the hour — seal it with a light mist of anti-humidity spray. Bumble and bumble's Anti-Humidity Gel Spray ($32) and the drugstore standby L'Oréal Elnett ($9–11 depending on size) both work by coating the surface in a flexible film rather than a stiff shell, so hair still moves and looks styled rather than shellacked. Hold the can at least eight inches away and mist in a sweeping motion; spraying too close leaves visible product buildup, particularly on dark hair where white residue shows up fastest.
Silk or satin pillowcases get recommended constantly for overnight frizz prevention, and they do help. Cotton grips hair as you turn in your sleep, creating the same cuticle-roughing friction a rough towel does, while a smooth silk surface lets strands glide instead of catching. A loose braid or a silk bonnet does the same job for curly hair, which flattens and frizzes on a flat pillow regardless of fabric.
What Actually Fails in Real Heat
No product on the market fully stops frizz above roughly 85% humidity.
That's common in a lot of the American South and Southeast Asia through summer, and by early afternoon, no amount of spray or serum changes that outcome. The honest fix at that point isn't more product — it's a style built to look intentional once the humidity wins anyway. Braids, low buns, and deliberately tousled waves read as "done" even after the air gets to them, while a sleek blow-dry that relied on being perfectly smooth just looks undone the moment it isn't. Choosing a style with built-in texture tolerance is the better long-term call for anyone living somewhere genuinely humid, rather than chasing a flat-iron finish that has maybe a two-hour lifespan outdoors.
The Midday Rescue Kit
A small rescue kit in your bag saves the rest of the day without requiring a full redo, and it doesn't need to be complicated. Four items cover almost every midday frizz emergency, and none of them take up much space in a work bag or tote.
- A travel-size anti-humidity spray for a quick re-seal over frizzed sections
- A boar-bristle brush, which redistributes natural oils down the shaft and calms flyaways better than plastic bristles
- Bobby pins for pinning back the front pieces that go first, usually the hairline near the temples
- A hair oil like Olaplex No. 7 Bonding Oil ($30) dabbed sparingly on the ends — a little goes further than most people expect, and too much just looks greasy by 4pm
Keep the kit in a small zip pouch, not loose in the bottom of your bag, because a bobby pin rattling around next to an open lip balm is how you end up with product on everything else you own. Five minutes in a restroom mirror with these four items fixes most of what humidity undoes by 2pm.
Tools Worth the Investment
If you're blow-drying daily through a humid summer, the tool matters more than the product stacked on top of it. A Dyson Airwrap ($599) or a GHD Duet Style ($399) both dry hair with less direct heat damage than a standard blow-dryer at full blast, which matters because damaged, porous hair is frizz-prone hair regardless of how many anti-humidity sprays you layer on top. That's a real investment, and it's not the right call for someone who air-dries most days and only blow-dries for events — in that case, a $40–60 ionic dryer with a concentrator nozzle does the job well enough, and the extra several hundred dollars is better spent on the leave-in and sealing products that do the actual cuticle work.
Ceramic or tourmaline plates on a flat iron distribute heat more evenly than basic metal plates, reducing the number of passes needed to get hair smooth — fewer passes means less cumulative heat damage over a season, which compounds into visibly better hair condition by September. Set the temperature by hair type rather than habit: fine hair rarely needs more than 300°F, while coarse or very curly hair can tolerate up to 400°F without scorching. Going hotter than your hair type needs doesn't buy you more hold; it just burns the cuticle you were trying to protect in the first place.
Building a Routine That Sticks
The full sequence, in order, looks like this: sulfate-free wash, leave-in on damp hair before any heat, blow-dry with the nozzle pointed down and hair dried completely through, a light anti-humidity mist to finish, and a midday touch-up kit for whatever the afternoon undoes. Skip any one of these steps and the rest of the routine works harder to compensate — usually without fully succeeding. None of this requires an overhaul of your existing products; most of it is sequencing and technique, which costs nothing and takes the same twenty minutes you were already spending on a blow-dry that used to fall apart by lunchtime.